 "MM54" (mm54mk2)
05/30/2016 at 21:20 ē Filed to: '71Chevelle
 5
5
 3
3
 "MM54" (mm54mk2)
05/30/2016 at 21:20 ē Filed to: '71Chevelle |  5 5
|  3 3 |
Progress on the Chevelle has been slow lately for both personal/time reasons (recall itís a two hour drive away, for one) as well as financial (buying a house is expensive) but Saturday I had the chance to make a bit more progress with the exhaust, and by that I mean I stripped the shipping paint off the headers and finished them with VHT header coating.
(I tend to ramble on in these posts - if thereís anything youíd like to see more of, or anything youíd rather I continually leave out, just let me know!)
First up - hang them. In this case, a cable between two trees (formerly used as a dog run) and some steel wire works well. The collector reducers and flanges are hanging out in the background as well to be painted.
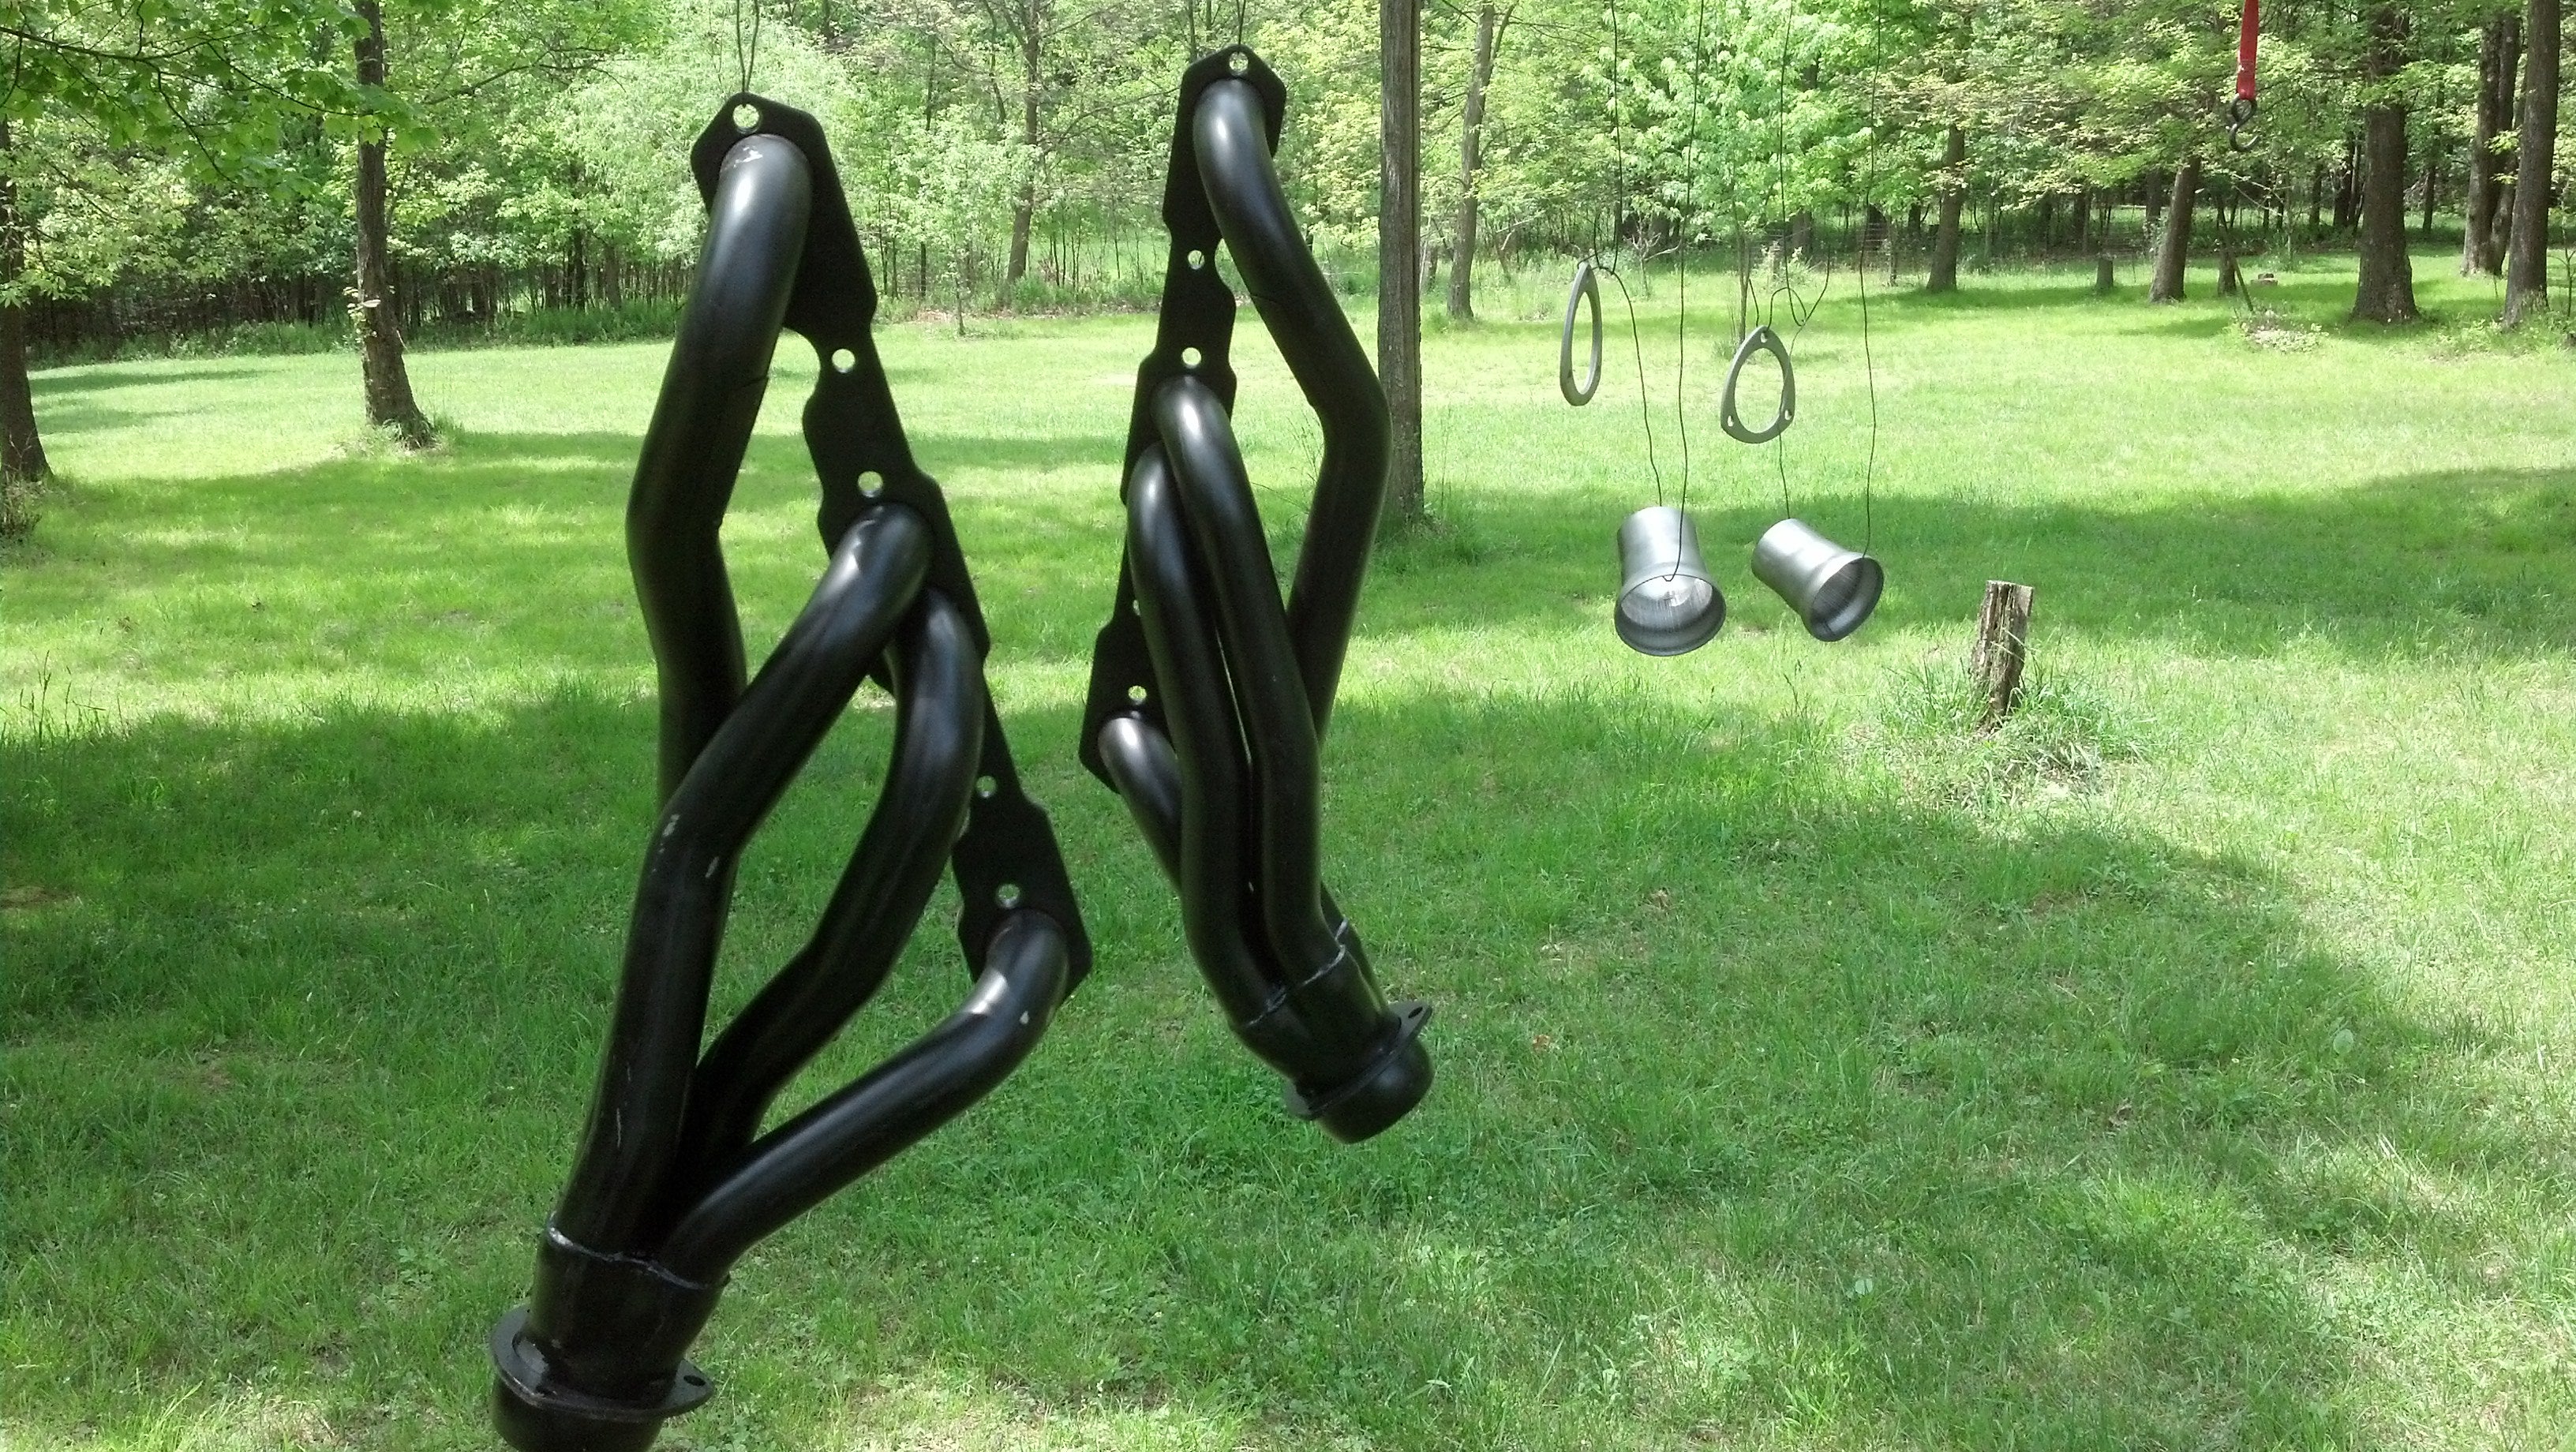
The black paint is just for shipping to keep them from rusting up. Why they donít just put some oil on them like any other metal thing is beyond me, but it has to come off before high-temp paint can go on.
Sprayed on some Aircraft Remover (if nothing else, we know there are no tiny helicopters between the primary tubes!) and watched the for-some-reason-very-uncomfortable-to-watch blistering of the paint, and began to scrape. Scraping was miserably slow so I tried the wire brush, which was better, but still a slow process.
Things got serious and I put the wire wheel (used both a disc and cup wheel) on the drill and actually made some progress.
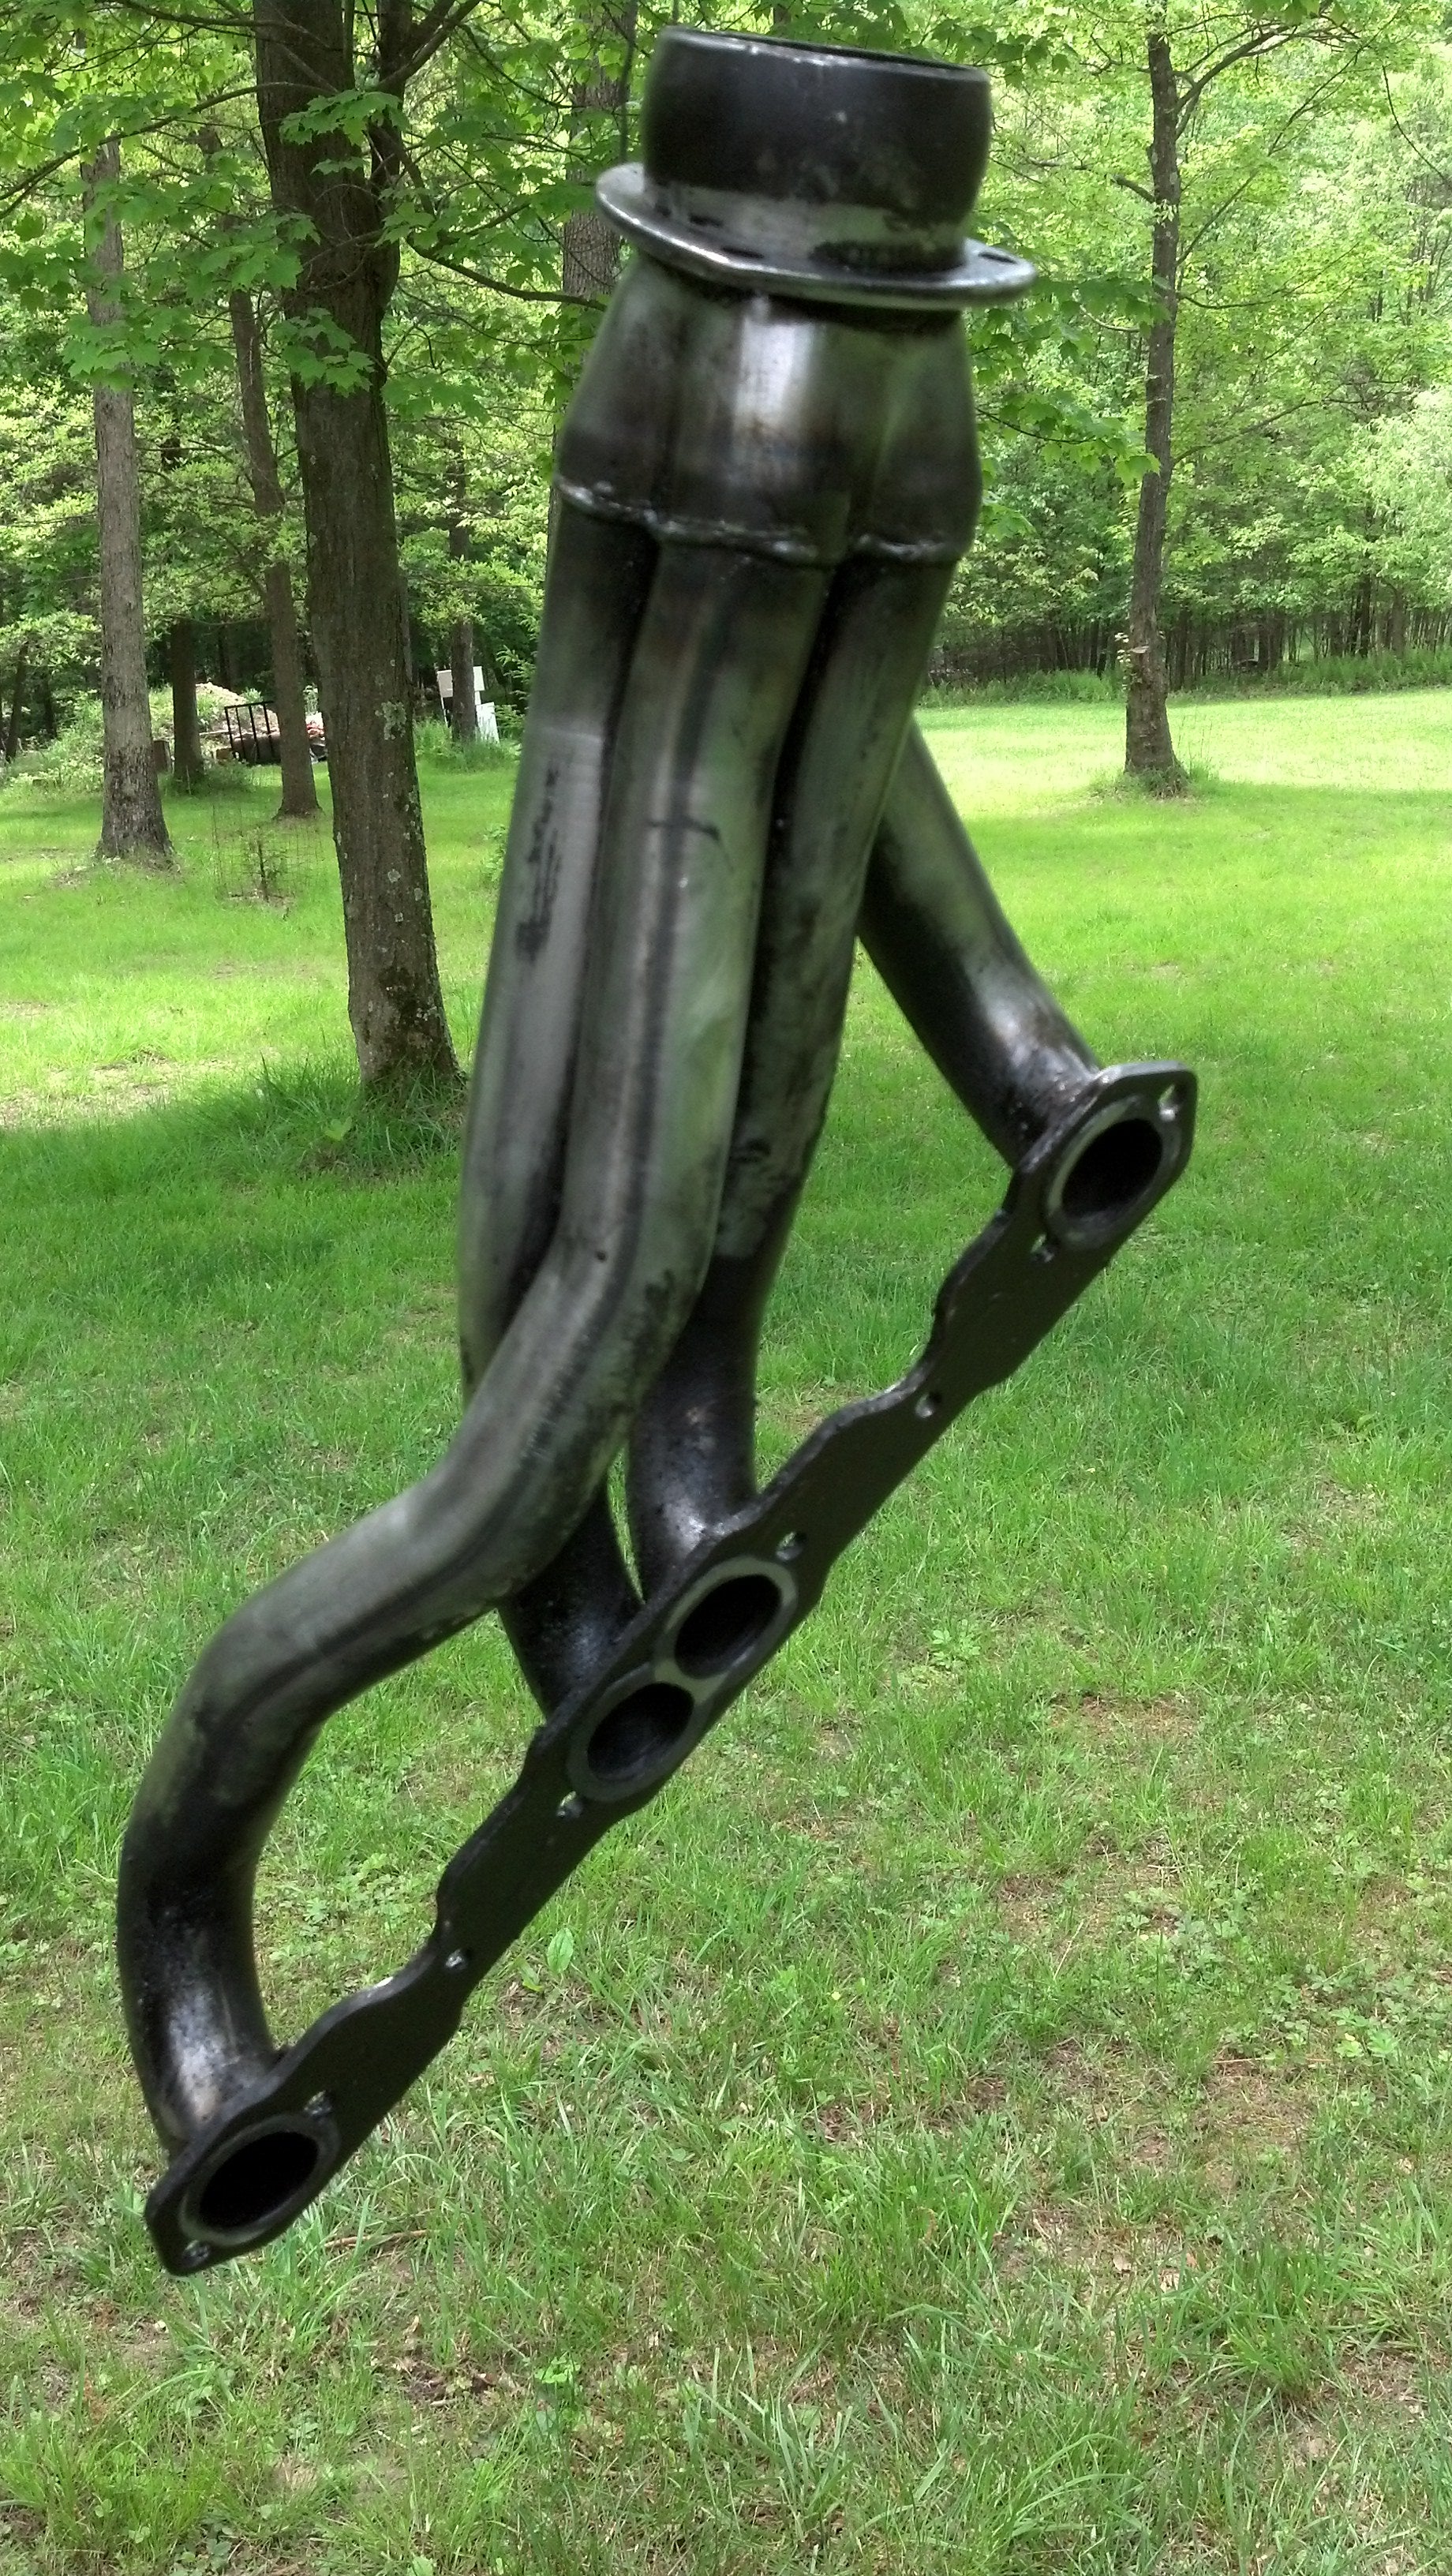
Something to mention about this paint stripper (which is what Aircraft Remover is) - I was wearing gloves, because duh, but while wire-wheeling it, an odd thing happened. Something hot hit my forearm, I figured it was just a hot wire broke off the brush... until it got hotter. Turns out this stripper burns like CRAZY when you get it on you. Instantly. Spit dilutes it enough to stop hurting, but it was certainly unpleasant the few times it happens. Donít get it on you.
More wire-wheeling and some more stripper application eventually gets it pretty clean.
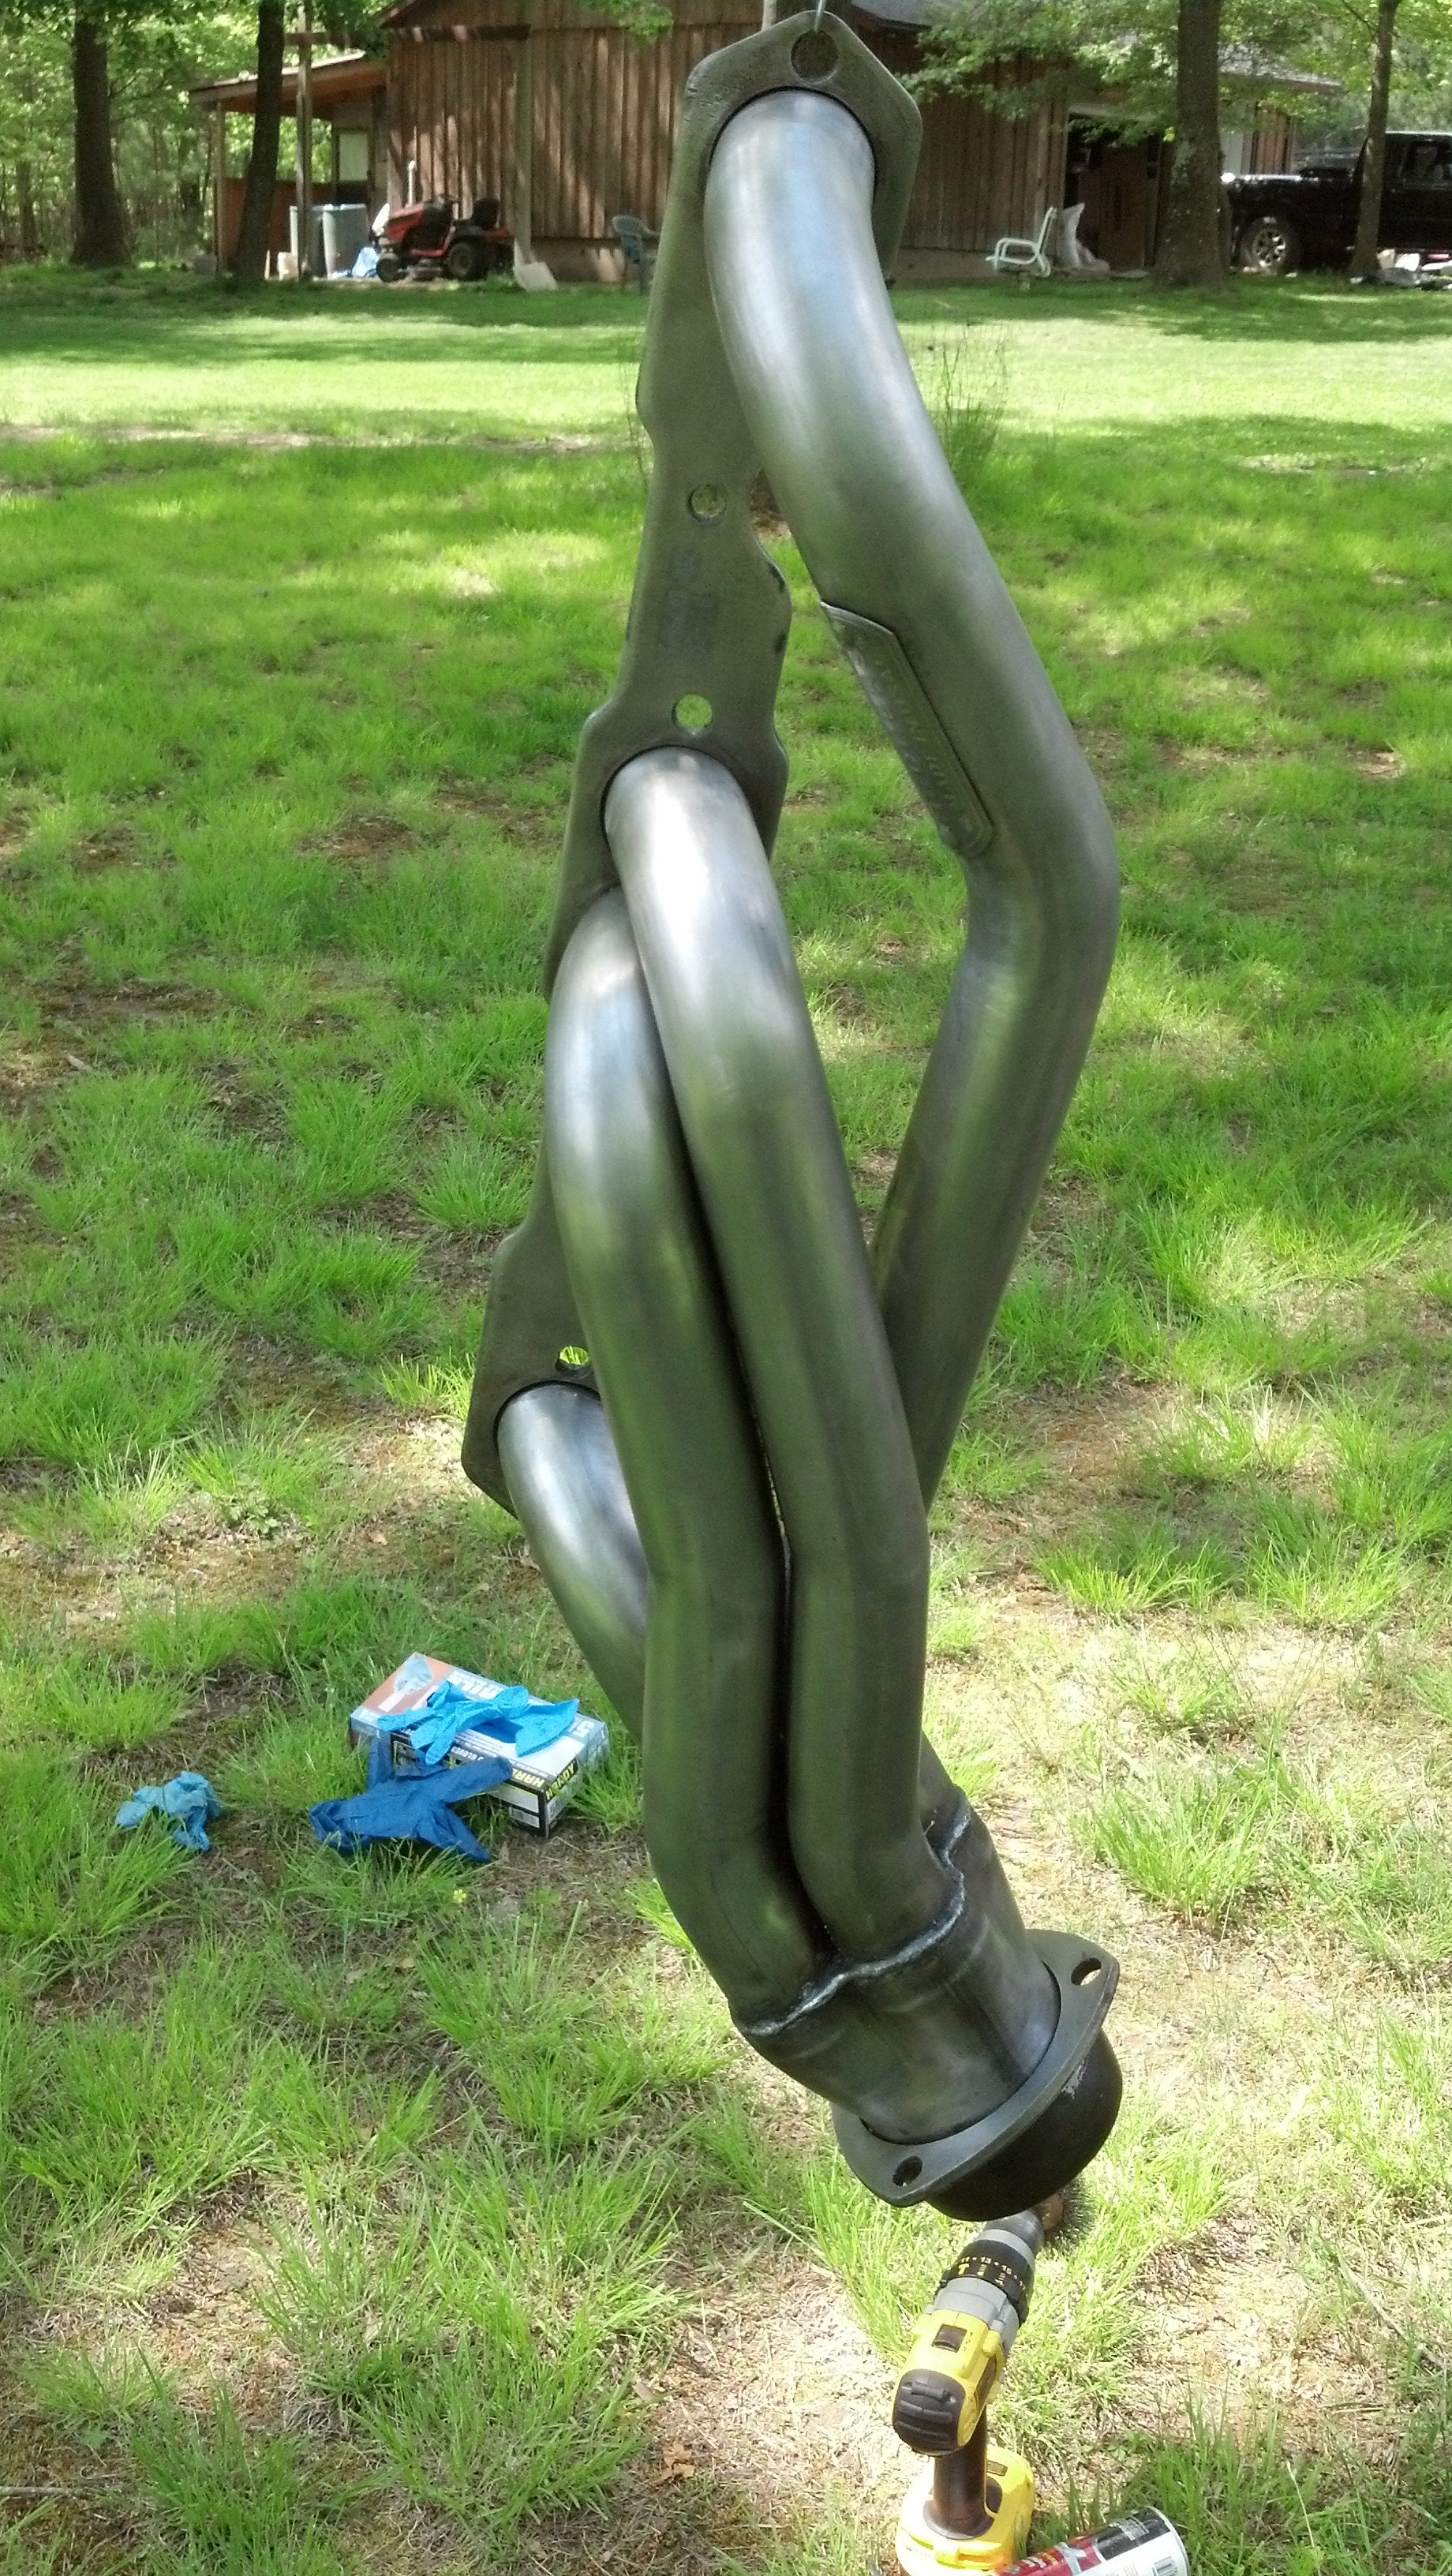
This was more of a pain that I had expected, taking about 4 hours with two of us (each with wire wheels on drills) to get the headers stripped. Not a very pleasant process at all.
Sanded the newly-exposed metal with some 320 grit to promote adhesion, though the wire brushes seemed to do about the same. Nonetheless, it left a nice, almost soft finish on the bare metal. From here they were taken down and hosed off thoroughly to remove any remaining stripper/dirt/dust/etc.
The clean-but-wet headers then were hung back up, and I aimed a torch up the collector to promote drying (being 85+ degrees outside helps too) and they were completely dry in no time, without rusting.
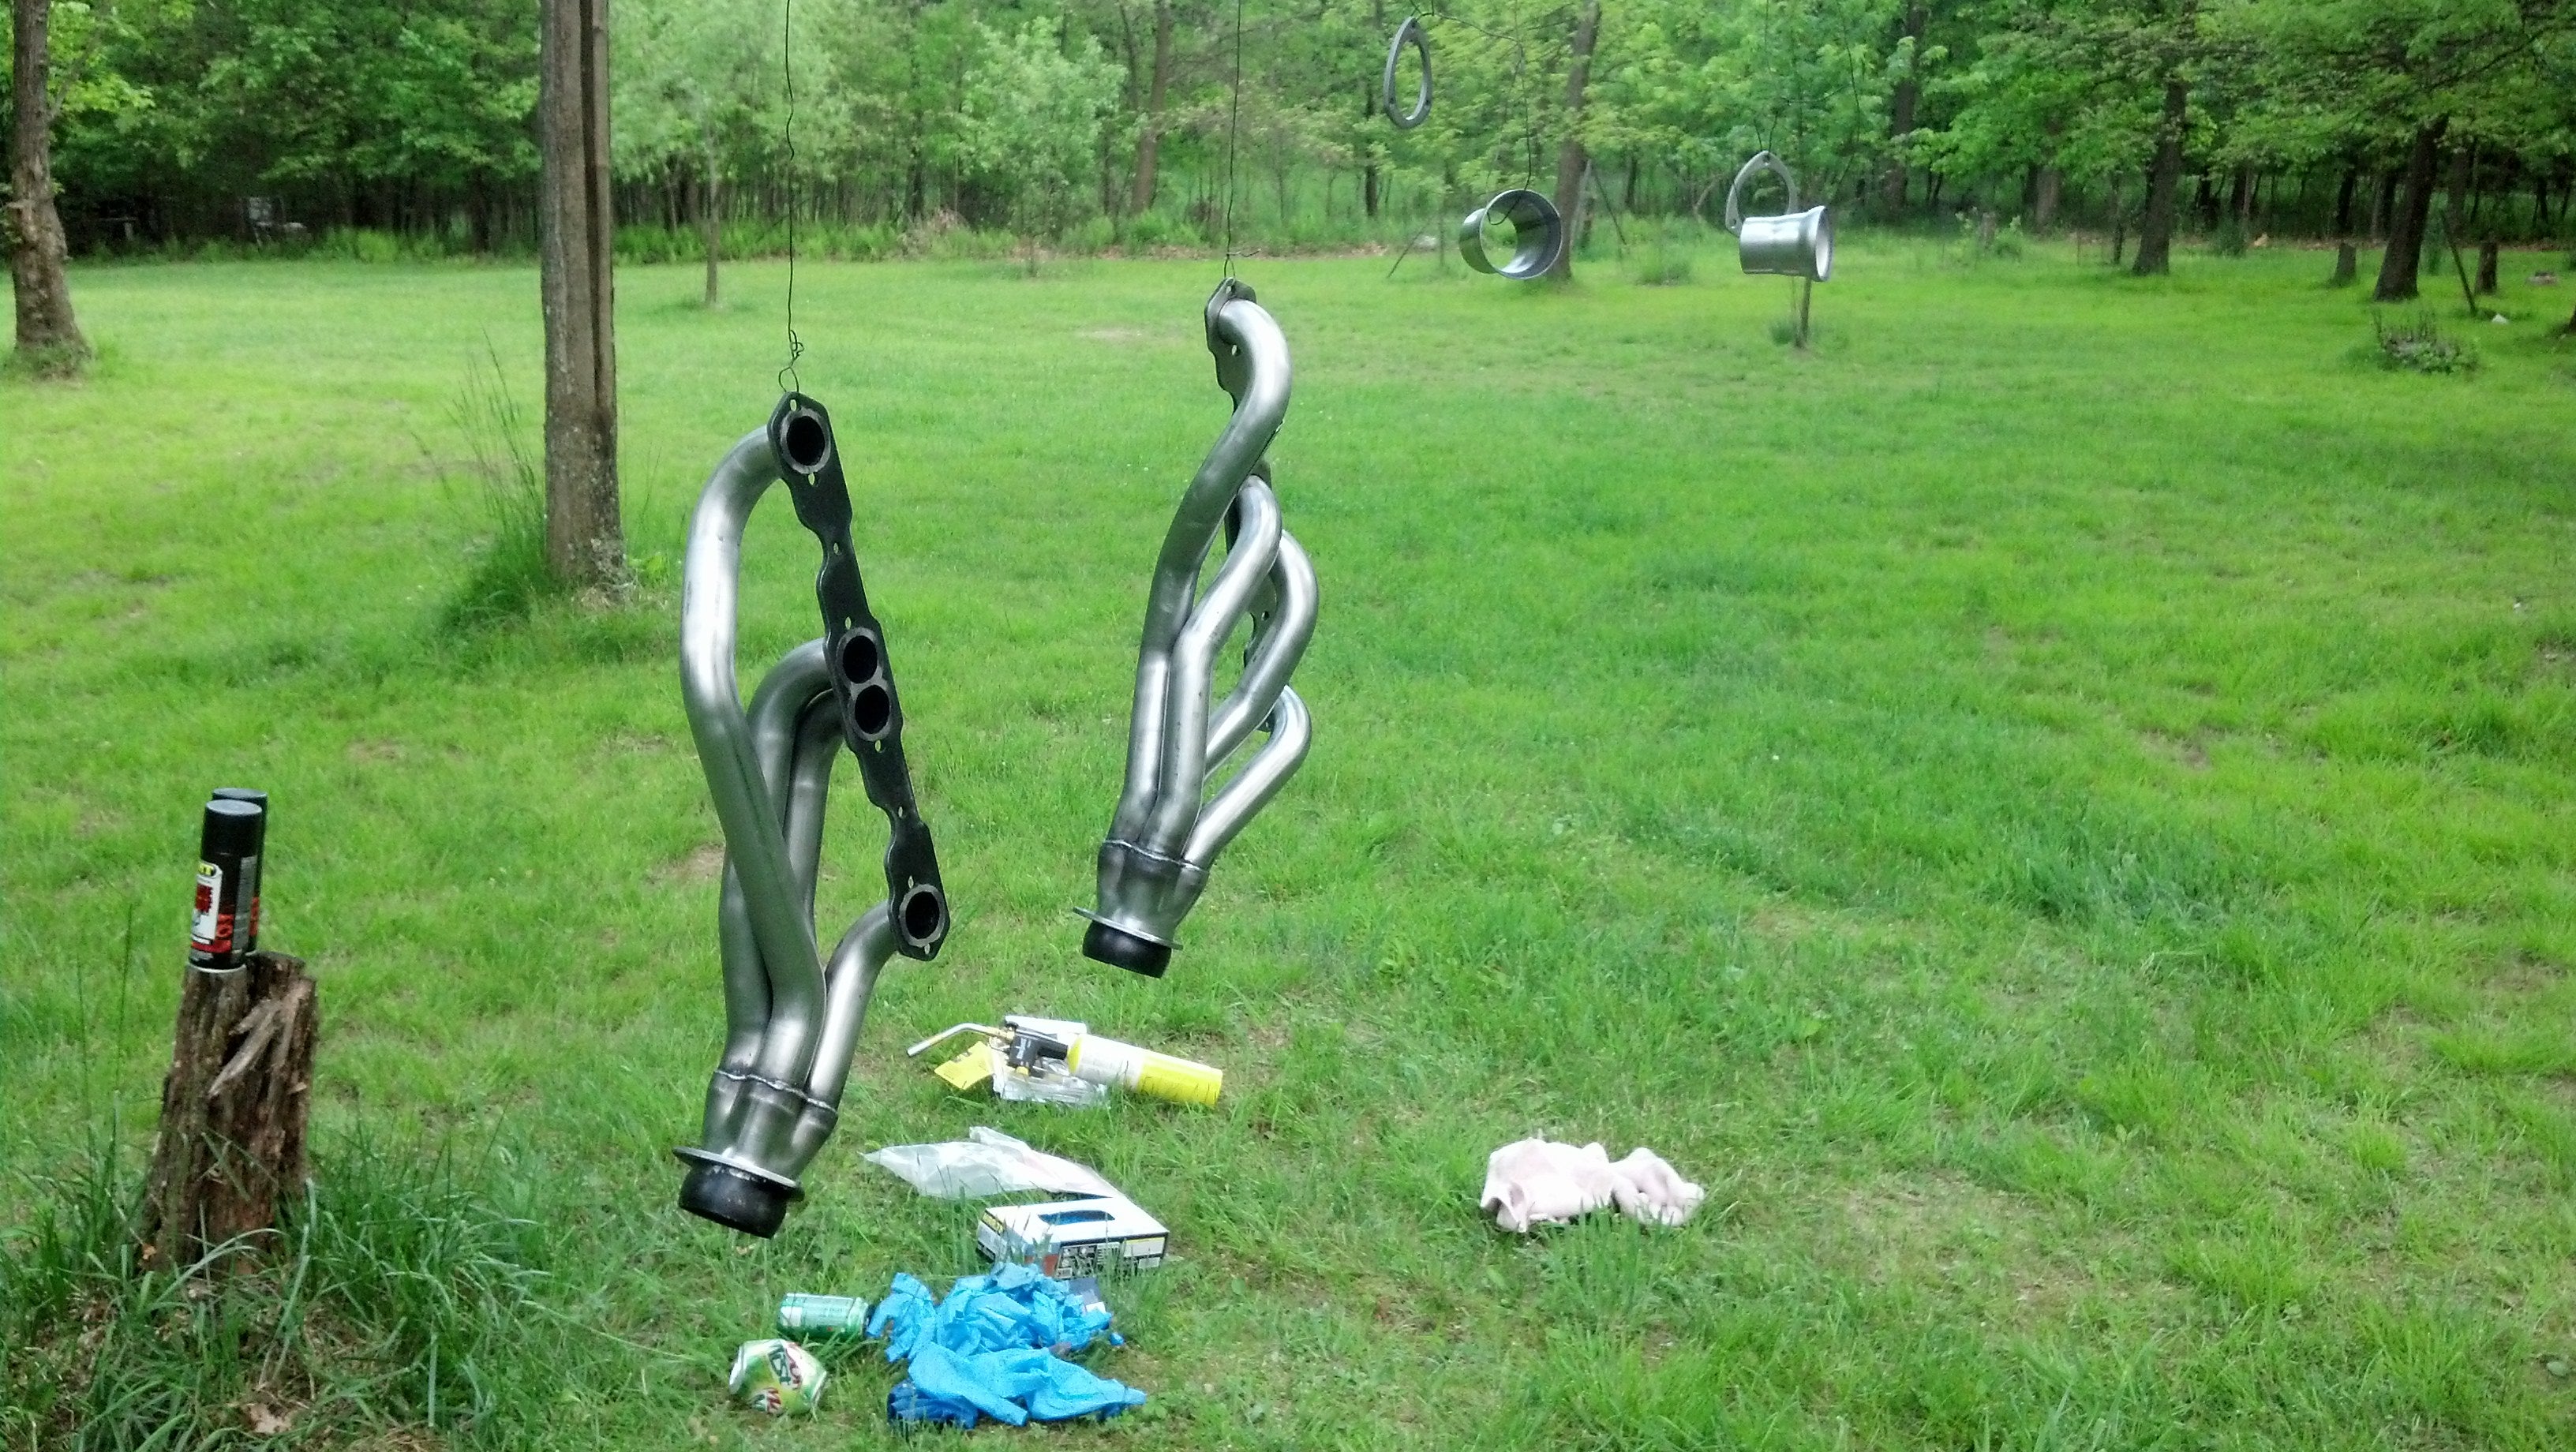
Degreased any remaining oils on the surface with some lighter fluid (which is basically naptha, which is basically DX330) and clean rags before primer - a light dusting coat, a slightly heavier coat, then a final coat ensuring total coverage, 5 minutes apart (per the can). At this point the torch came back out to heat up the primary tubes and so on (from the inside) which will help cure the primer.
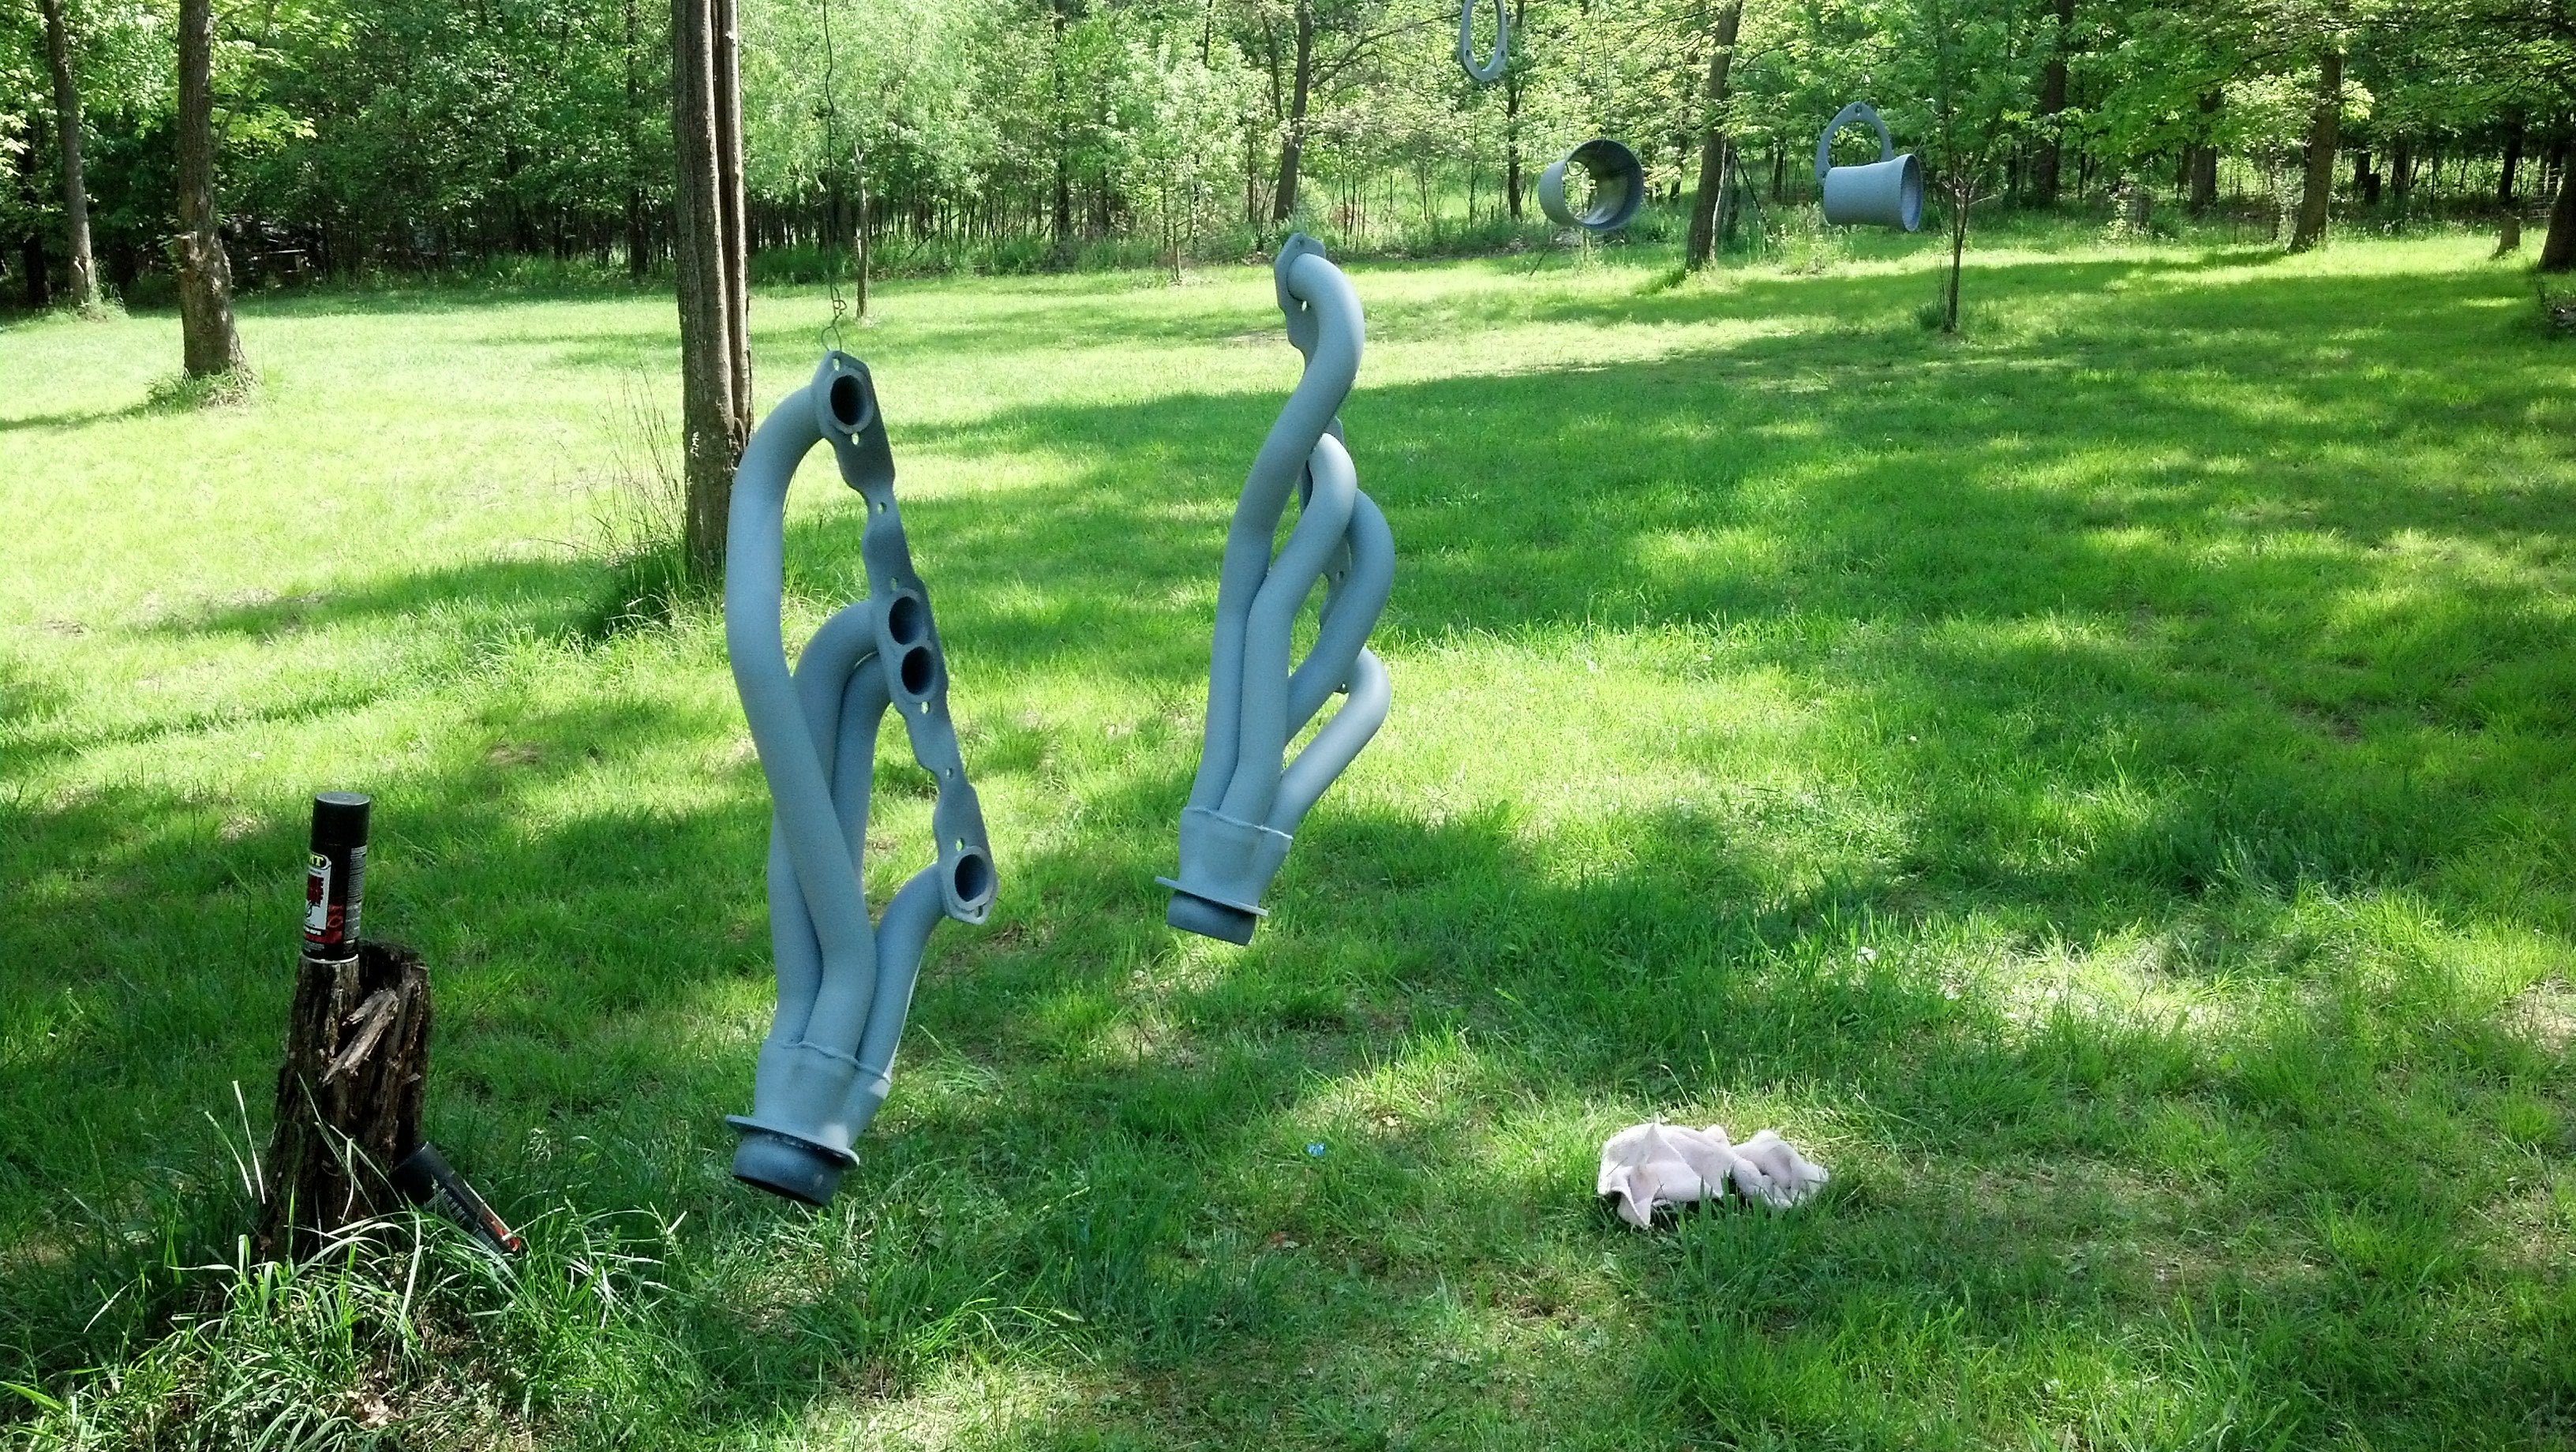
Again, per the can, 30 minutes elapsed and it was time for the color. Combining the recoat times from the cans and some wisdom accumulated elsewhere, I aimed the torch up the collector to get the tubes warm (but not too hot) and applied a dusting coat. 10 minutes, then warm them again with the torch. Second coat was to get full coverage, so I guess a ďmediumĒ coat. Immediately afterwards, the torch came back out to get the tubes hot. 10 minutes later, a final heavier coat was applied to once-again-warmed metal and I made extra-sure all areas were covered.
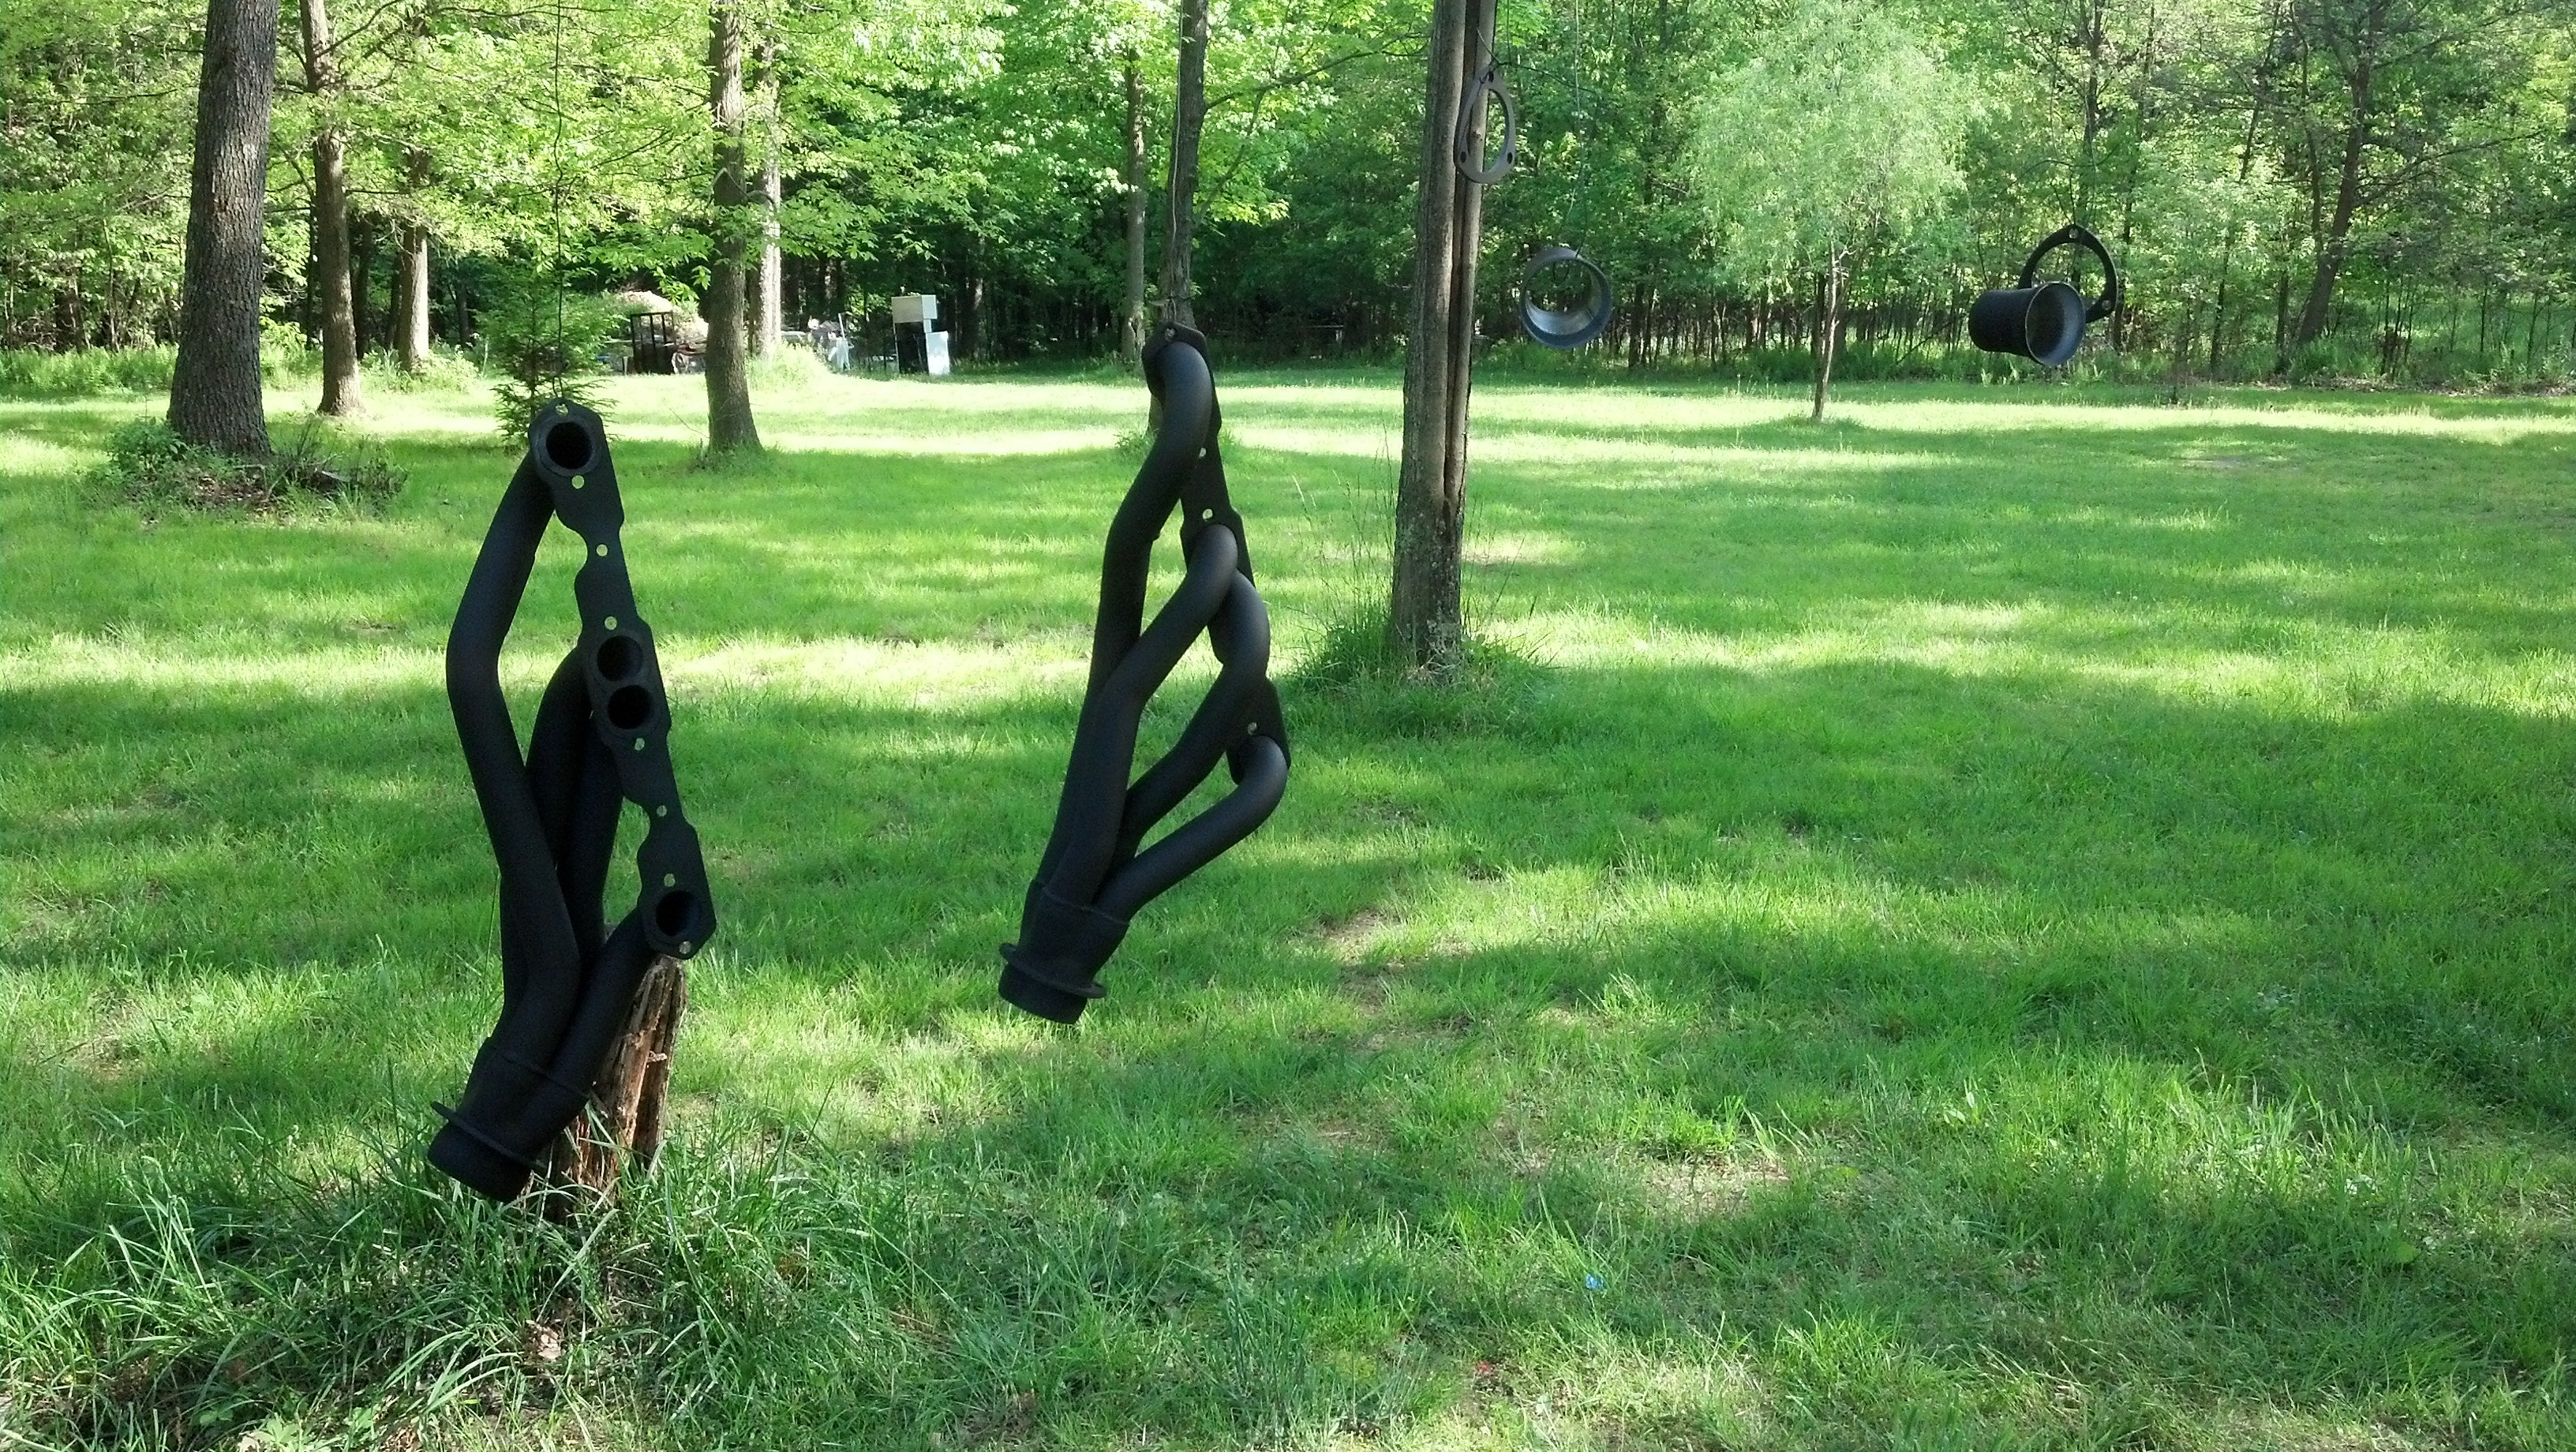
The torch made its final appearance for the day and again warmed up all the pipes from the inside to help set the finish. After about 20 minutes, other commitments were calling, so the headers, etc. were carefully removed from the outdoor line and hung from the rafters indoors with the car to finish curing (it will be a couple weeks before Iím able to put them on the engine and properly bake in the coating).
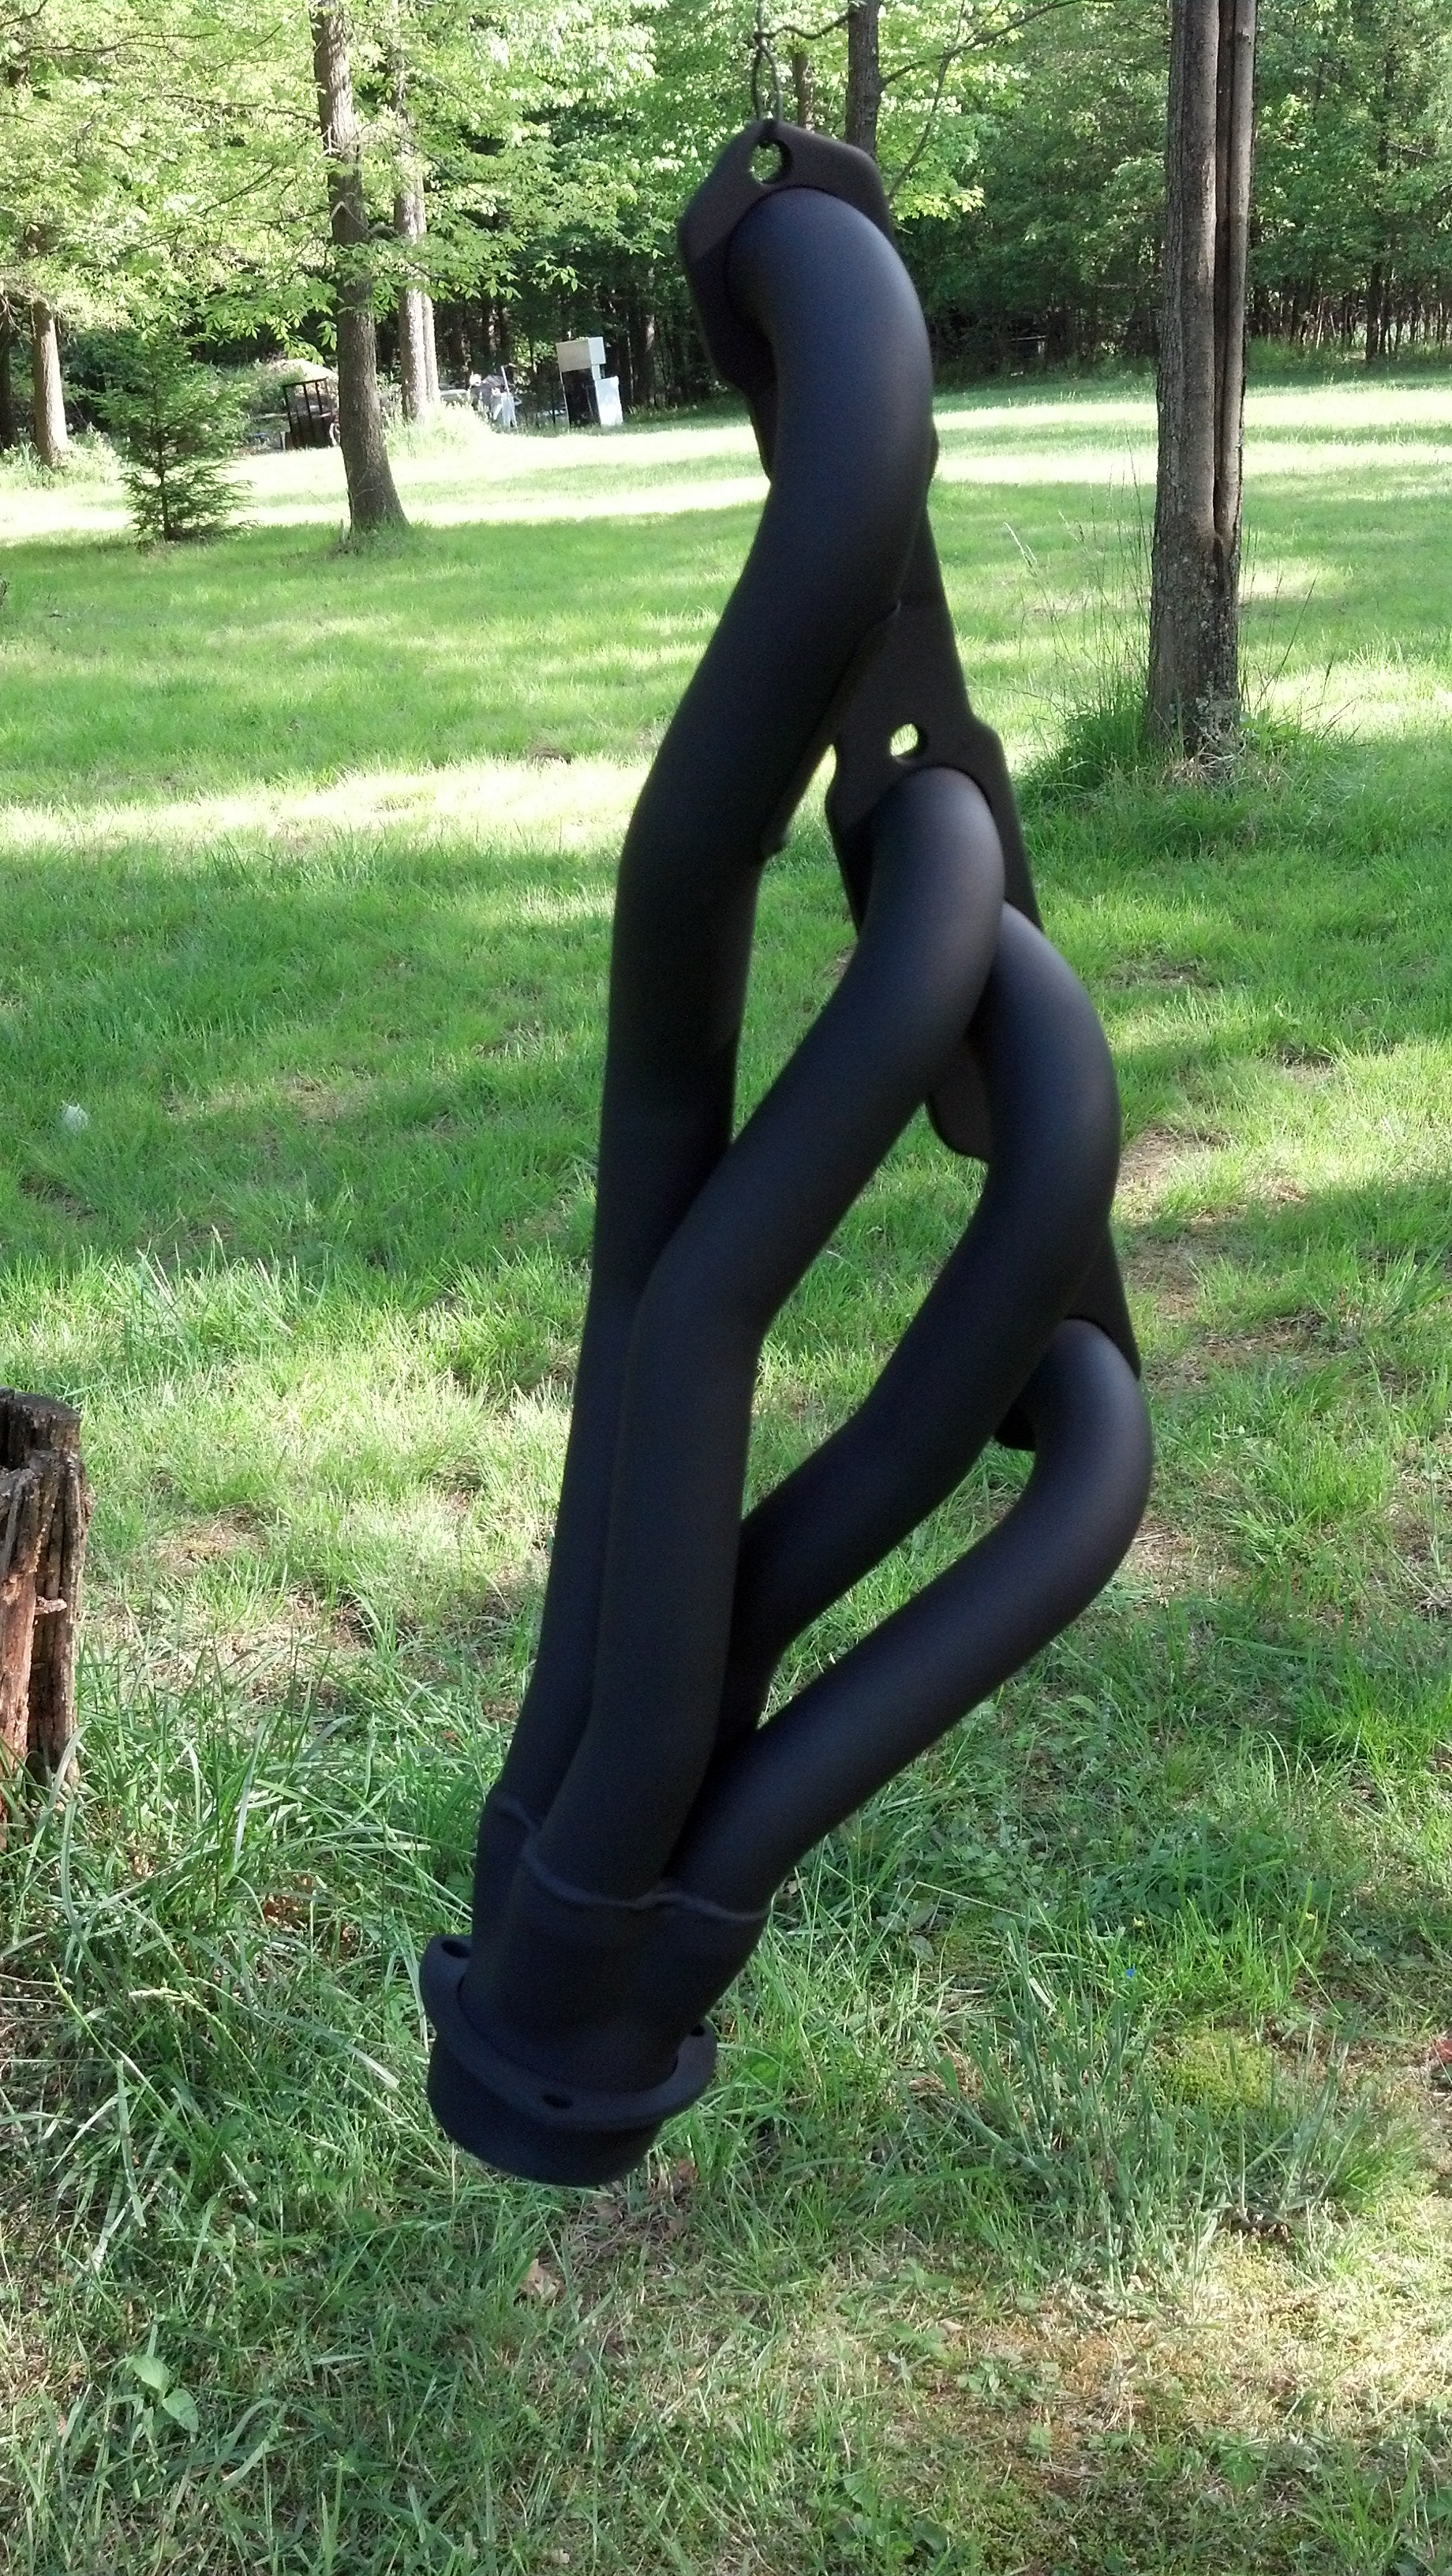
I think they turned out pretty well; weíll have to see how they hold up.
Whatís Next?
Iím not entirely sure. Like I mentioned above, Iím in the process of buying a house, something I expected to be doing later in the summer, so my car-money has been temporarily relocated to house-money. That said, all I need (that I know of) are some of those spark plug boot protectors and I will have everything I need to fully install the exhaust! There are a couple little brackets/spacers Iíll need to make as well, particularly to adapt one of the power steering brackets.
I may do a little bit more scraping/POR15 work underneath before then, though (everything from the trans to the axle is done between the frame rails, and everything behind the axle outside the frame rails is done).
Once things with the house settle down and my finances stabilize again, Iíll be able to get the parts I need to continue getting this car back on the road, primarily all the brake parts. As always, Iíll keep Oppo updated; there may be some changes to the plan.
 Boxer_4
> MM54
05/31/2016 at 00:30 |
|
Looking good! I love seeing freshly painted parts.
I happened to see this at the local cruise night this past weekend:
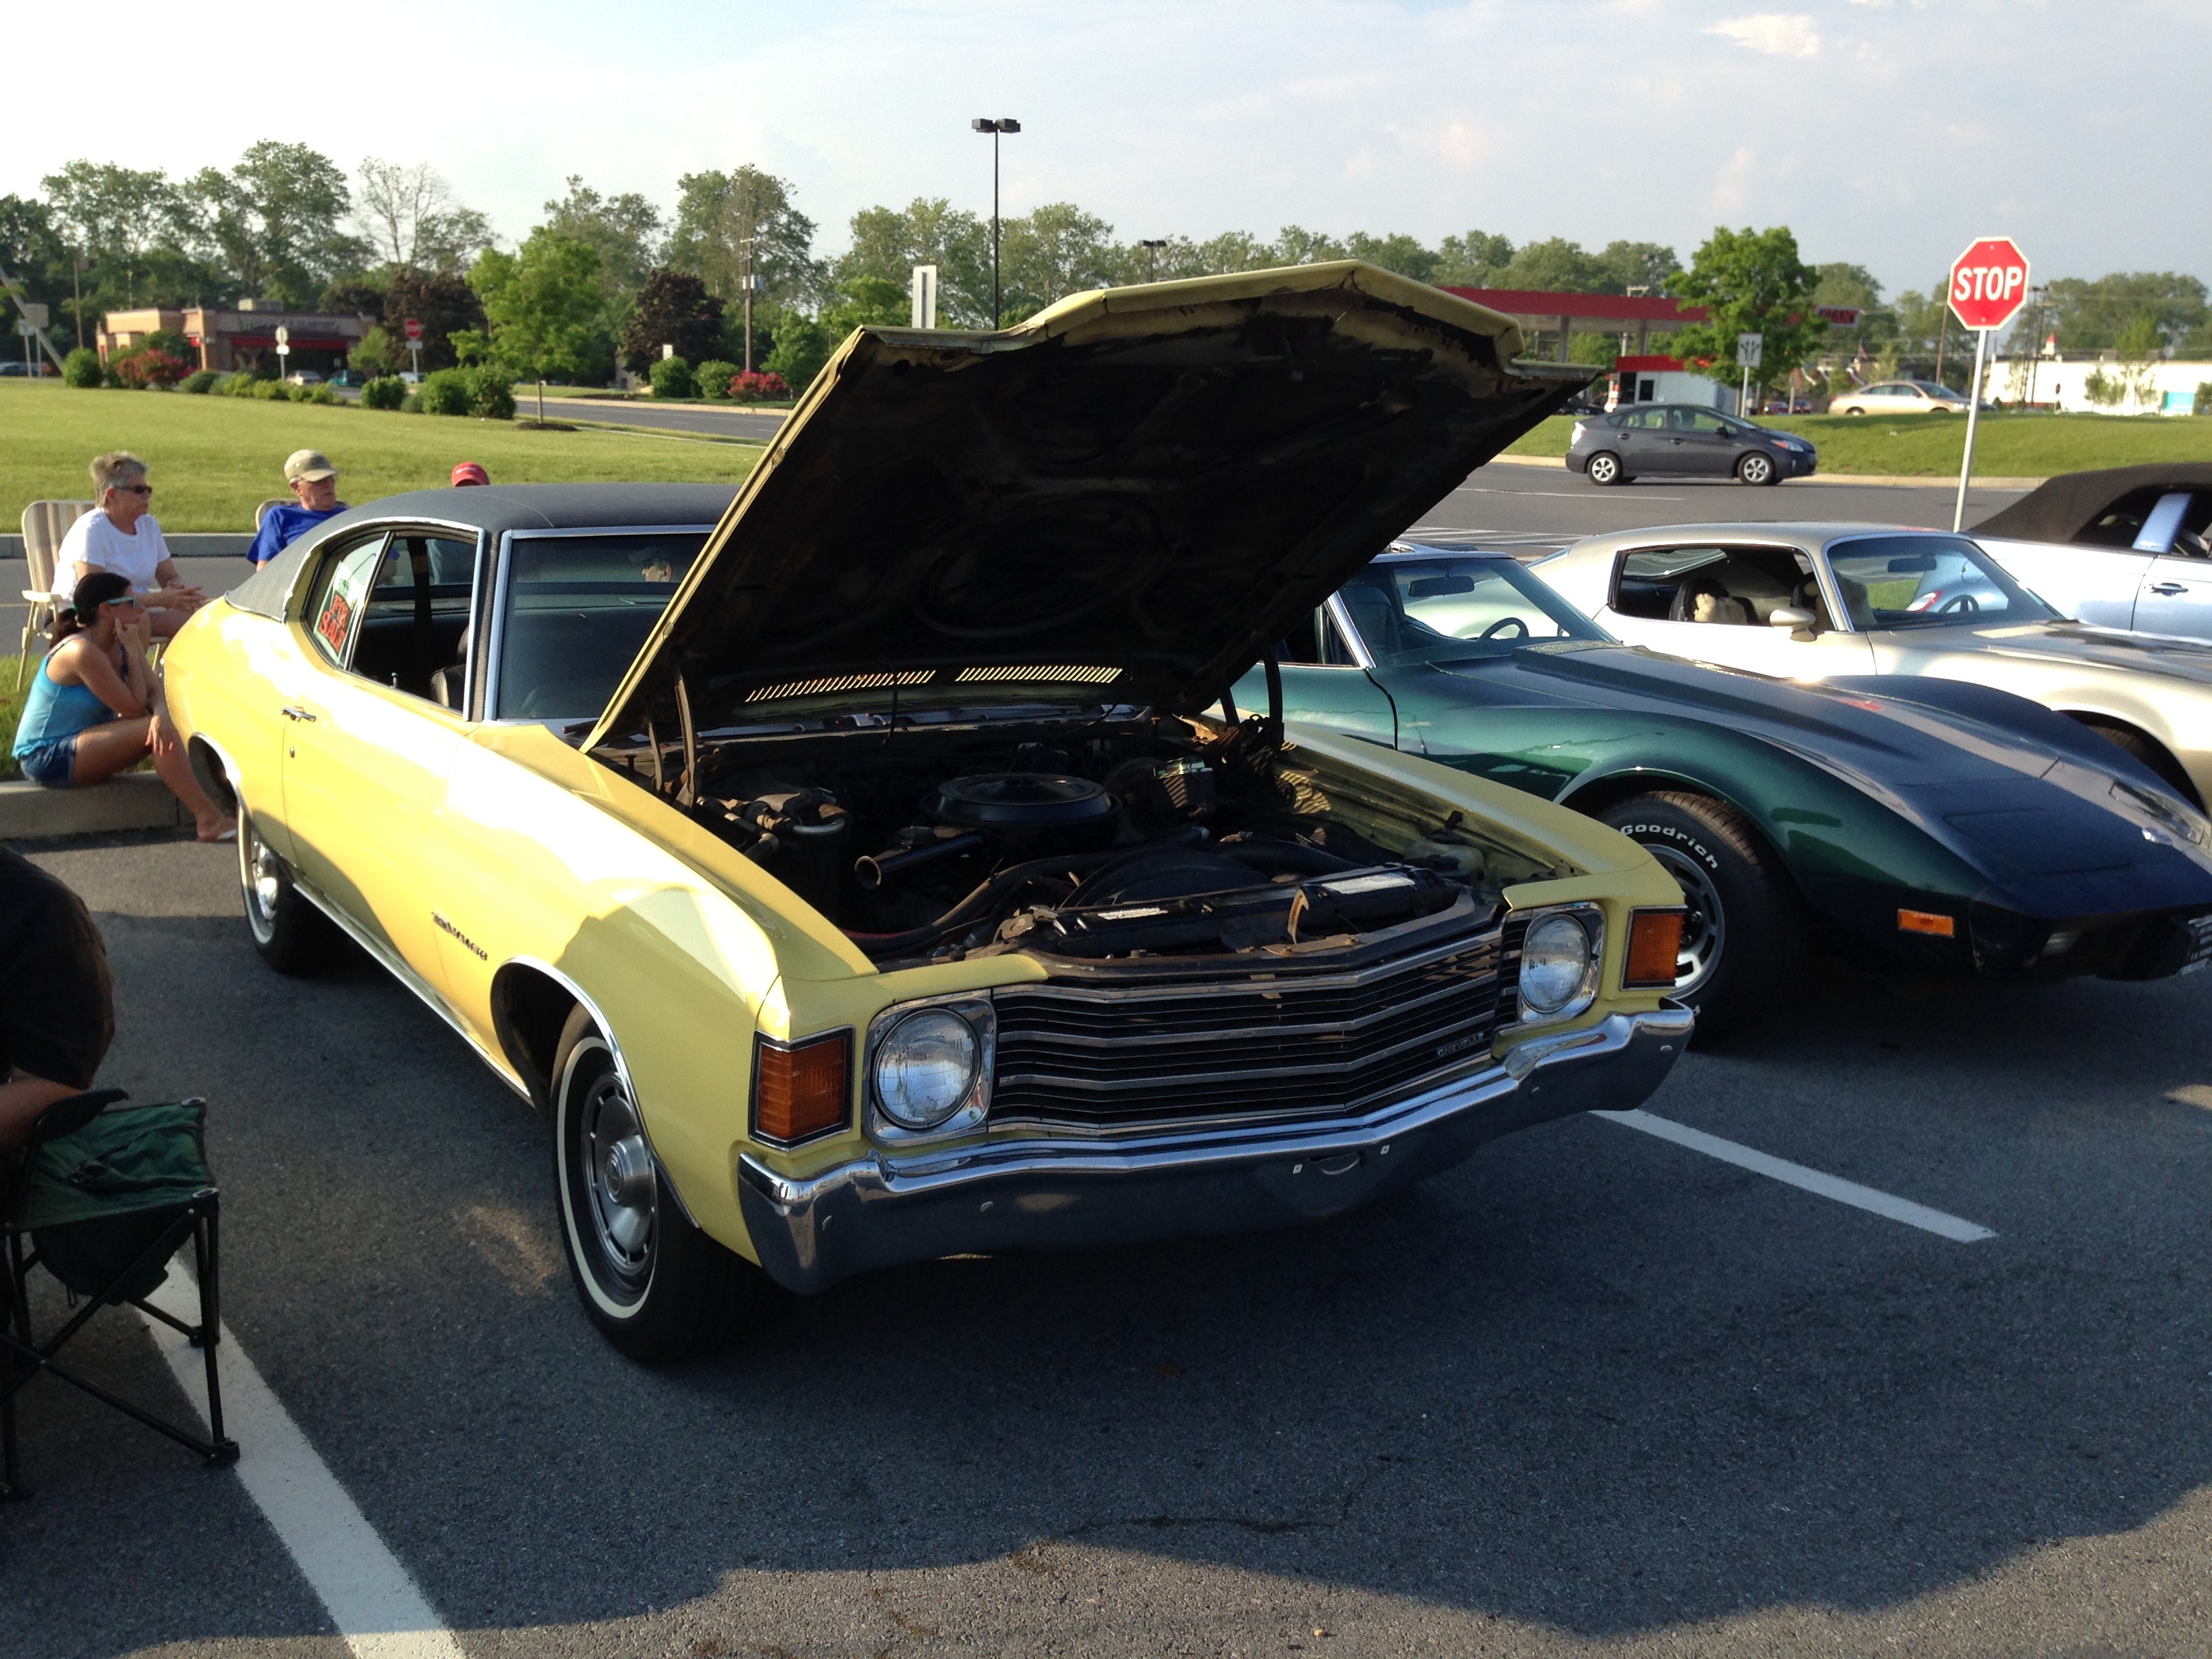
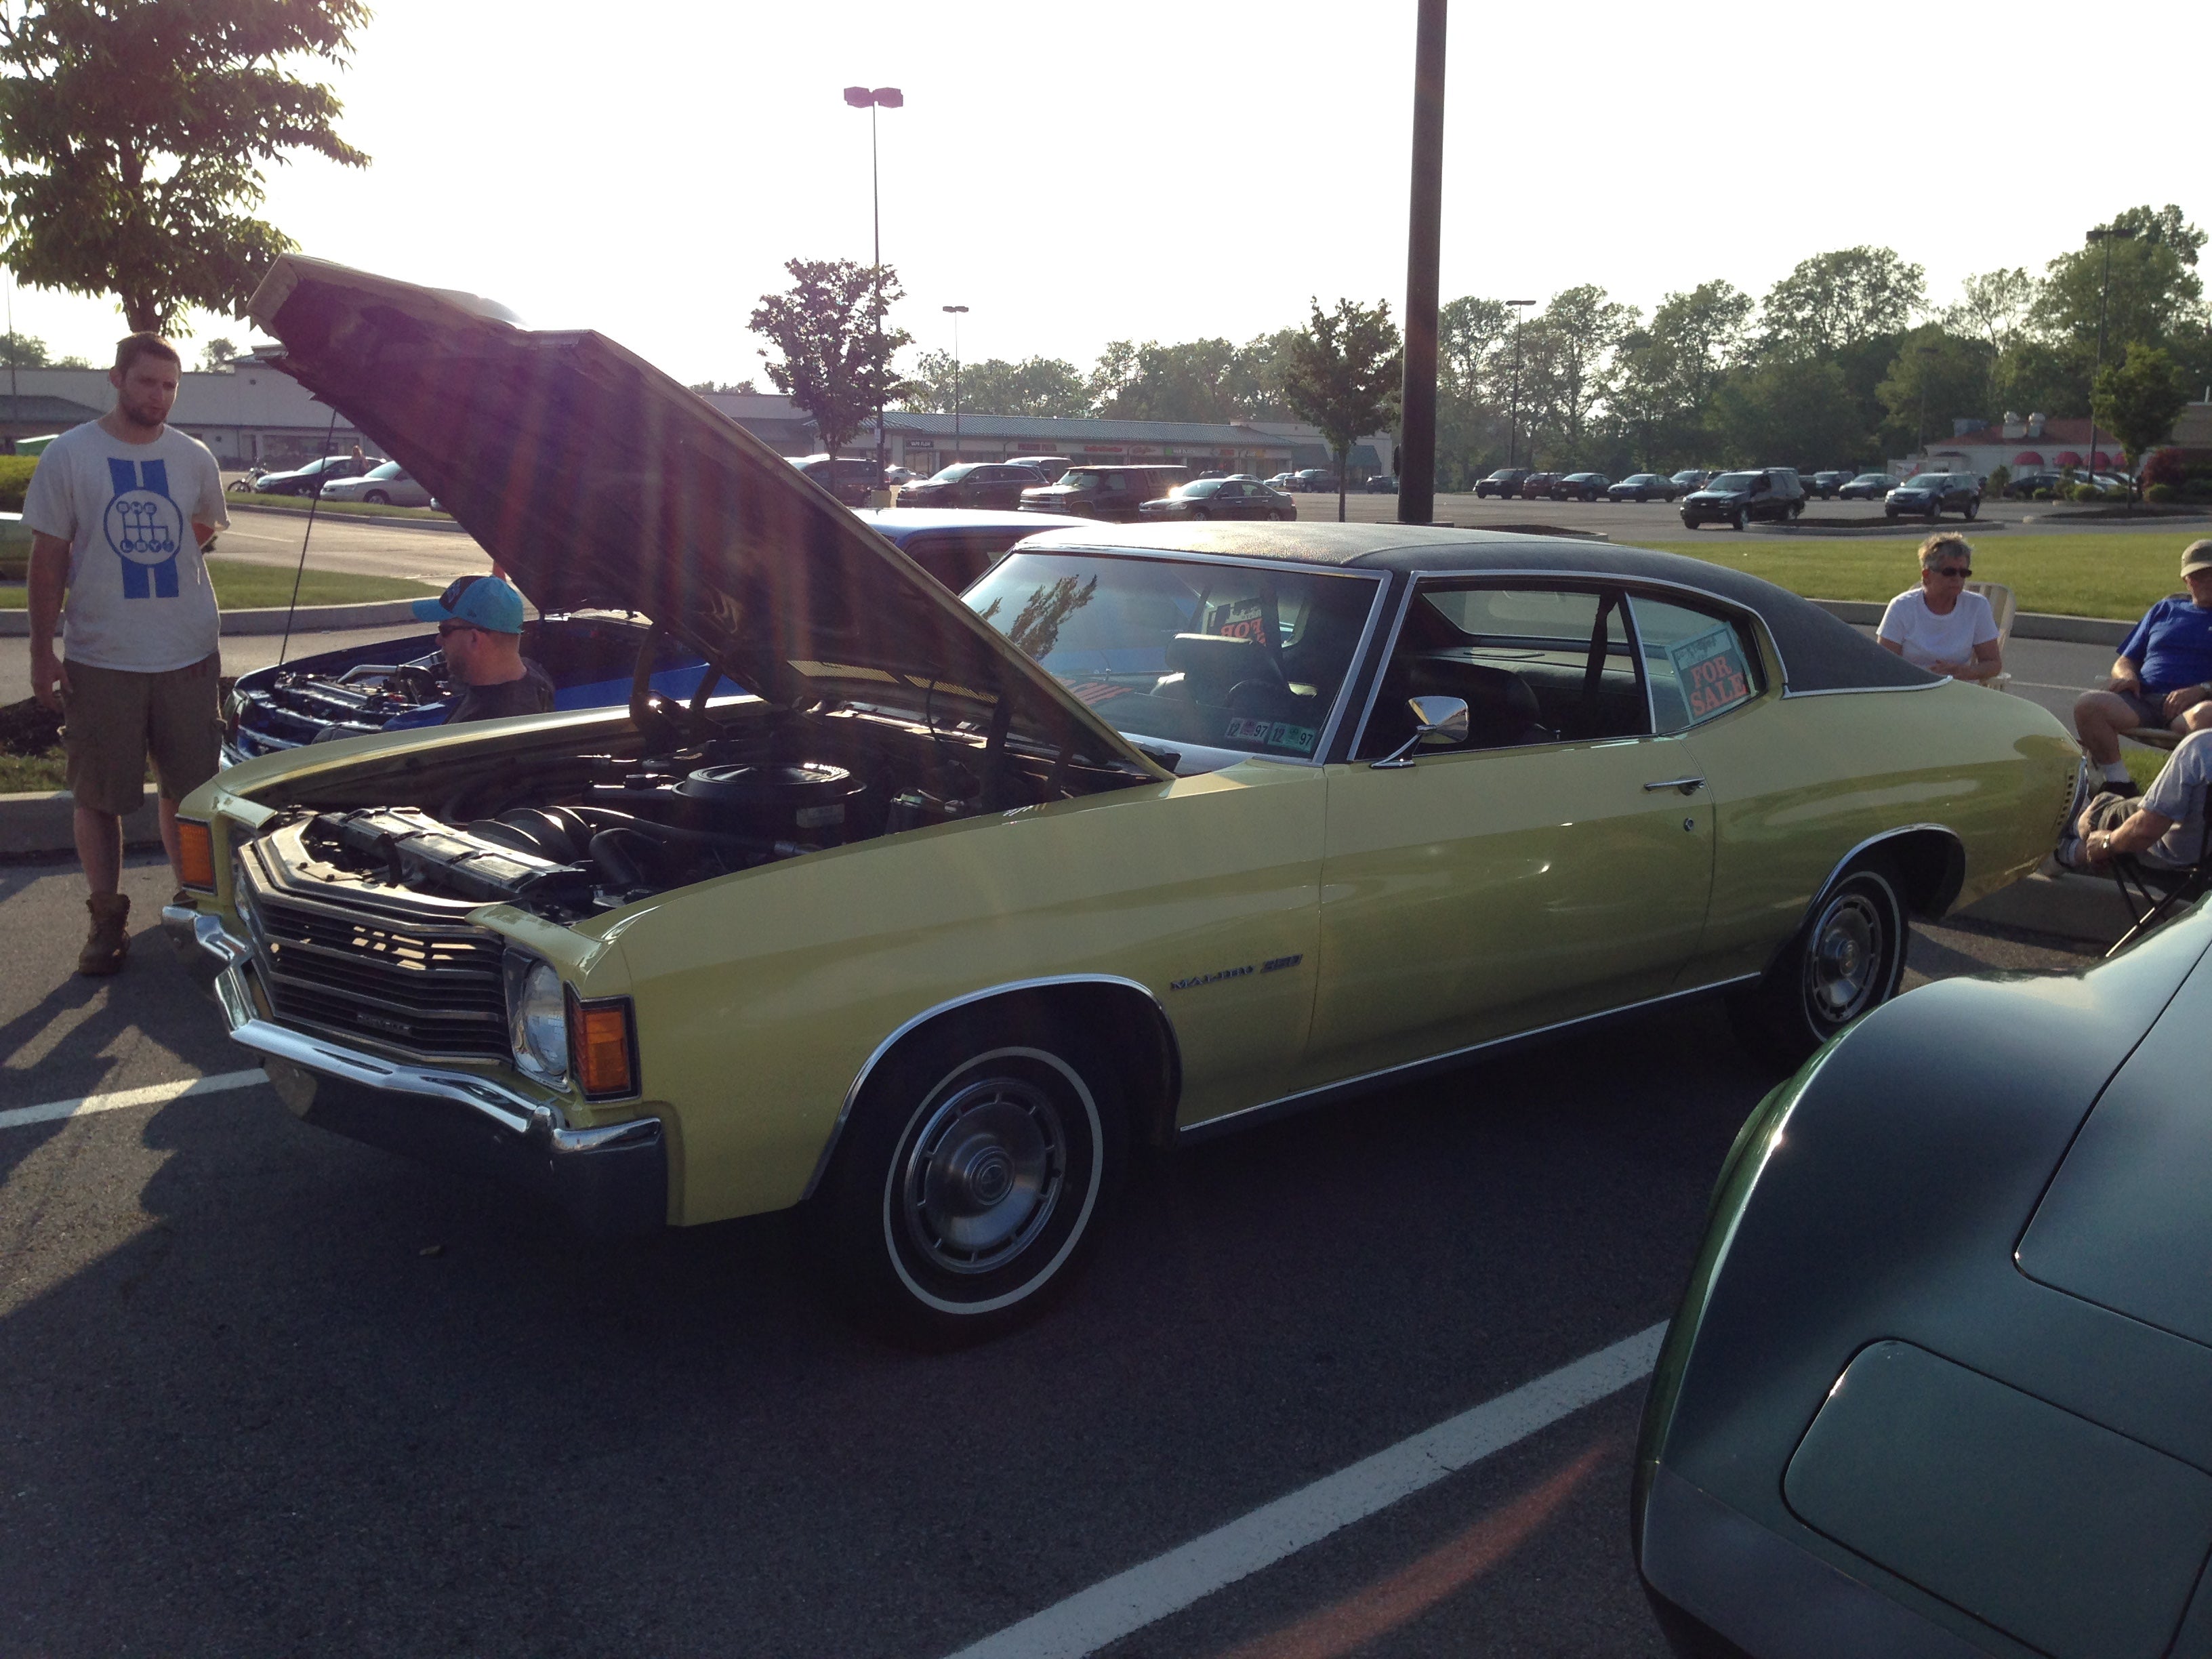
Itís quite rare to see a non-restomodded, non-SS clone Chevelle around here. It was very refreshing to see, actually.
 MM54
> Boxer_4
05/31/2016 at 16:54 |
|
Very nice Ď72. Thatís also the first Iíve seen someone else with those same hubcaps that I have!
 Boxer_4
> MM54
06/01/2016 at 10:57 |
|
I couldnít believe how clean it was. I donít think Iíve seen another one around here in as good of shape as this one.